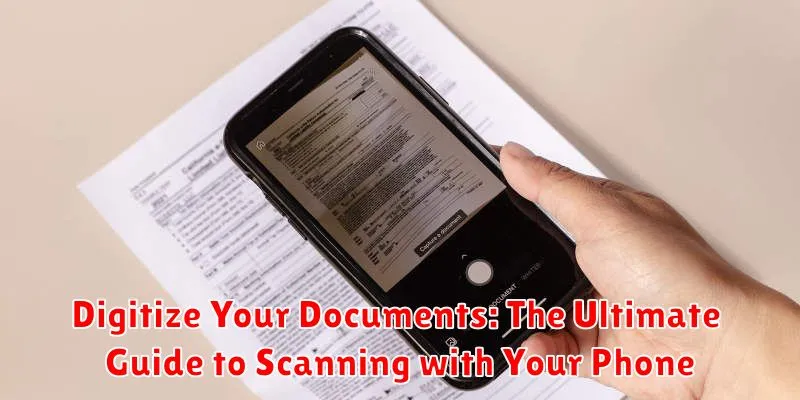
In today’s fast-paced digital world, managing physical documents can be cumbersome and inefficient. Digitizing your documents offers a practical solution, transforming paper into easily accessible and searchable digital files. This comprehensive guide explores the power of scanning with your phone, providing a step-by-step approach to effectively and efficiently digitize your documents. Whether you’re dealing with important receipts, valuable contracts, or sentimental photos, learning to scan with your phone offers an unparalleled level of convenience and organization.
This ultimate guide to scanning with your phone will cover everything from choosing the right scanning app to optimizing image quality and ensuring secure storage. We’ll delve into the advantages of digitizing documents, highlighting the benefits of reduced clutter, improved searchability, and enhanced security. By the end of this guide, you will be equipped with the knowledge and tools necessary to confidently digitize your documents using the power of your smartphone, effectively transitioning from a paper-based system to a streamlined digital archive.
Preparing Your Documents for Scanning
Before you begin scanning, taking a few moments to prepare your physical documents can significantly improve the quality of your digital copies. This preparation involves a few key steps.
Flatten Your Documents
Wrinkled or folded documents can create shadows and distortions in your scans. Smooth out any creases or folds as much as possible. For stubborn wrinkles, consider placing the document under a heavy book for a short time to help flatten it.
Clean the Document Surface
Dust, smudges, or debris on your documents can show up in your scans. Gently wipe the document surface with a clean, dry microfiber cloth to remove any particles. Avoid using abrasive cleaners or wet cloths, as these could damage the document.
Ensure Proper Lighting
While your phone’s flash can be helpful, it can also cause glare on glossy documents. Even, indirect natural light is ideal. Avoid harsh shadows by ensuring the light source is not directly overhead.
Built-in Scanning Apps vs. Third-Party Options
Your phone likely already possesses scanning capabilities through built-in features or default apps. These options offer a convenient and readily available solution for quick scans. Many manufacturers include scanning functionality directly within their camera apps or offer dedicated note-taking apps with integrated scanning. These are often sufficient for basic document digitization.
However, if you require more advanced features, consider exploring third-party scanning apps. These often provide greater control over image quality, offer robust editing tools, and boast advanced features like optical character recognition (OCR), batch scanning, and cloud integration. OCR, in particular, is invaluable for converting scanned documents into searchable and editable text.
Ultimately, the best choice depends on your specific needs. For occasional, simple scans, built-in apps are a great starting point. But for frequent scanning, high-quality requirements, or the need for advanced features, a dedicated third-party app is likely a worthwhile investment.
Optimizing Camera Settings for Document Scanning
Getting crisp, clear scans depends heavily on your phone’s camera settings. Taking a moment to adjust these settings can drastically improve the quality of your digital documents.
Resolution: Set your camera to its highest resolution. This captures more detail, resulting in sharper scans and better readability, especially for documents with small text or fine details. A higher resolution scan will also allow for greater flexibility if you need to enlarge the document later.
Focus: Ensure your camera is properly focused on the document. Most phone cameras have autofocus, but it’s always best to manually tap on the screen to focus on the document’s center, ensuring everything is sharp and clear.
Lighting: Even, bright lighting is crucial for good scans. Avoid shadows by using a direct light source, preferably natural light. Avoid using flash as it can cause glare and wash out the document.
Exposure: Adjust the exposure to ensure the document is neither too dark nor too bright. Most phone cameras allow you to adjust exposure by tapping on the screen and sliding your finger up or down. Aim for a balanced exposure that accurately captures the document’s content.
Tips for Capturing Clear and Legible Scans
Capturing high-quality scans with your phone involves more than just pointing and shooting. Follow these tips to ensure clear and legible results every time.
Steady Your Hand: A stable camera is crucial. Use both hands to hold your phone and consider resting it on a stable surface or using a tripod for optimal stillness.
Ensure Proper Lighting: Avoid shadows and glare. Natural, indirect light is ideal. Position your document near a window or use a desk lamp to illuminate it evenly.
Flatten Your Document: Smooth out any creases or folds. A flat document surface ensures uniform focus and prevents distorted scans.
Frame the Document Correctly: Align the document within the camera’s frame, ensuring all edges are visible. Leave a slight border to facilitate automatic cropping.
Focus and Capture: Tap the screen to focus on the document. Hold the camera still for a moment before capturing the scan. Avoid blurry images by ensuring proper focus.
Editing and Enhancing Scanned Documents
After capturing your document, you can often further refine it digitally. Most scanning apps offer built-in editing tools. These tools allow for various adjustments to improve the overall quality and readability of your scans.
Cropping: Remove unwanted borders or sections of the image. Precise cropping ensures that the final document contains only the essential information.
Rotation: Correct the orientation of the document if it was scanned at an angle. This ensures proper alignment and readability.
Perspective Correction: Adjust the perspective of the image to flatten it, as if it were scanned on a flatbed scanner. This is especially helpful for images of documents captured at an angle.
Brightness and Contrast: Adjust the brightness and contrast to improve the visibility of text and images. Increase brightness for faded documents and adjust contrast to sharpen text.
Filters: Some apps offer filters, like black and white or grayscale, to enhance text clarity and reduce file size.
Saving and Organizing Your Digital Documents
Once you’ve scanned your documents, implementing a robust saving and organizing system is crucial for easy retrieval and long-term accessibility. A well-structured system prevents digital clutter and ensures you can quickly locate the files you need.
Consider using a consistent naming convention for your files. This might involve incorporating dates, keywords, or document types. For example, “UtilityBill_2024-01-Electricity” or “Contract_ClientA_2024-02-Signed.” A clear naming system makes searching and sorting much simpler.
Cloud storage services offer a convenient way to store and access your documents across multiple devices. They also provide backup protection against data loss. Alternatively, you can save your scans locally to your device or computer. Organize these files into clearly labeled folders based on categories such as “Financial,” “Personal,” or “Medical.” Regularly back up these local files to an external hard drive or another secure location.
Creating a digital filing system requires some initial effort, but it pays off significantly in the long run by streamlining your document management.
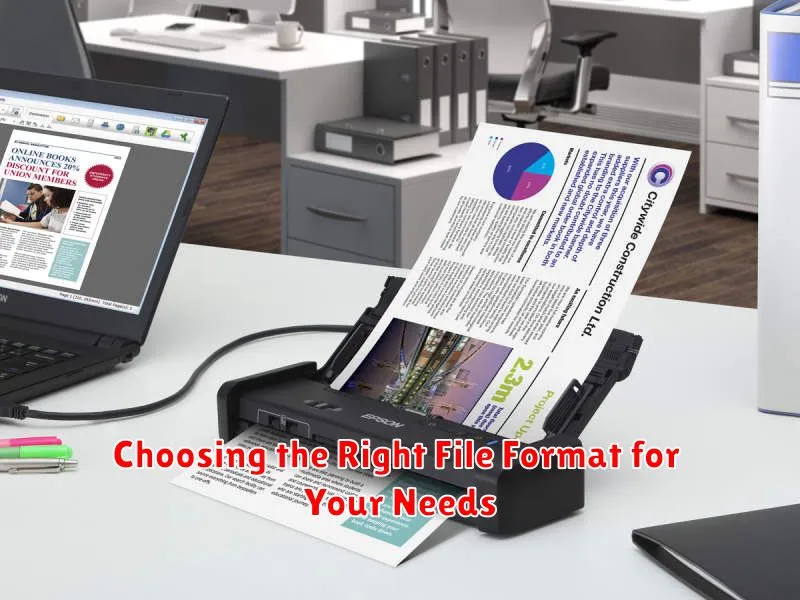
Choosing the Right File Format for Your Needs

Selecting the appropriate file format is crucial for maximizing the usability and compatibility of your scanned documents. Several formats offer distinct advantages depending on your specific requirements.
PDF (Portable Document Format) is generally the preferred choice for archiving and sharing. PDFs preserve the original formatting and are widely accessible across different operating systems and devices. They are ideal for documents that require an unalterable format, such as official records or contracts.
JPEG (Joint Photographic Experts Group) is suitable for image-based documents like photographs or signed forms where preserving visual quality is paramount. JPEGs employ compression, which can reduce file size, but may lead to slight quality loss. This format is generally not recommended for text-heavy documents.
PNG (Portable Network Graphics) offers lossless compression, making it a good option for documents containing both text and images where maintaining clarity is important. PNG files tend to be larger than JPEGs but retain all original image data.
Consider your needs for editing, sharing, archiving, and file size when choosing between these formats. If you anticipate needing to edit the text in the scanned document, consider saving it as a searchable PDF or converting it to an editable format using Optical Character Recognition (OCR) software.
Sharing Scanned Documents via Email or Cloud Services

Once your documents are scanned, edited, and saved, sharing them digitally is simple and efficient. Email remains a popular choice for quick transmission. Most scanning apps offer a direct share option, allowing you to attach your newly digitized document to an email without leaving the app.
Cloud services provide further flexibility for sharing and storage. Platforms like Google Drive, Dropbox, and OneDrive offer seamless integration with many scanning apps. Uploading scans to the cloud allows you to access them from any device and easily share them with a link, simplifying collaboration and distribution. Consider factors like storage space, security, and sharing permissions when choosing a cloud provider.
When sharing sensitive documents, explore options for password protection or encrypted sharing offered by both email and cloud services. This ensures that your important information remains confidential.
Troubleshooting Common Scanning Issues
Occasionally, you might encounter issues while scanning documents with your phone. Here are some common problems and how to address them:
Blurry Scans
Blurriness often results from camera shake or an unsteady hand. Ensure your phone is stable, ideally using a tripod or by placing it on a flat surface. Good lighting is crucial. Avoid dim environments and shadows.
Distorted Images
Perspective distortion, where the document appears trapezoidal, can be corrected within most scanning apps. Look for features like “keystone correction” or “perspective adjustment.” Ensure the document is laid flat to minimize distortion.
Shadow Interference
Shadows can obscure text. Position your light source to minimize shadows. Using multiple light sources or adjusting the angle of your phone can also help.
Poor Image Quality
Low resolution can hinder readability. Check your scanning app’s settings and choose a higher resolution output, if available. Clean your phone’s camera lens to remove smudges or dust that can degrade image quality.
App Crashes or Freezes
If your scanning app is malfunctioning, try closing and reopening it. Ensure your phone has sufficient storage space. If the problem persists, consider reinstalling the app or trying a different scanning app.

