
Experiencing a frozen screen on your Android device? An unresponsive touchscreen can be incredibly frustrating, halting your productivity and access to your device. Whether you’re facing a completely frozen screen, delayed responses, or only partial touchscreen functionality, this guide will provide comprehensive troubleshooting steps to help you resolve the issue and regain control of your Android phone or tablet. We’ll explore common causes, from software glitches to hardware problems, and offer practical solutions, from simple restarts to more advanced techniques.
This article addresses various scenarios related to Android touchscreen issues, including complete screen freezes, intermittent unresponsiveness, and specific areas of the touchscreen failing to register input. Learn how to diagnose the problem effectively and implement appropriate troubleshooting methods to fix your frozen screen and prevent future occurrences. We’ll cover everything from basic checks to more advanced troubleshooting steps, empowering you to reclaim your Android device’s full functionality.
Identifying the Cause of an Unresponsive Touchscreen
Before attempting any fixes, it’s crucial to identify the potential cause of your unresponsive touchscreen. A software glitch could be the culprit, ranging from a temporary freeze to a more persistent system error. Alternatively, hardware problems like physical damage or internal component failure could be to blame.
Consider recent events. Did the unresponsiveness start after installing a specific app or updating your Android version? This could point to a software conflict. Has your device recently been dropped or exposed to extreme temperatures? Physical damage or internal malfunction are more likely in these scenarios.
Determining the likely cause helps to guide your troubleshooting efforts, allowing you to focus on the most relevant solutions and potentially avoid unnecessary steps.
Performing a Soft Reset or Restart
A soft reset, or restart, is often the simplest and most effective solution for an unresponsive touchscreen. It allows the operating system to refresh and clear any temporary software glitches that might be causing the problem. This process does not delete any of your data.
Typically, a soft reset involves pressing and holding the power button for a specific duration. This duration can vary between Android devices but usually falls within the range of 10 to 30 seconds. Some devices might display a menu with options like “Power off,” “Restart,” or “Emergency mode.” If such a menu appears, select “Restart.” If your device doesn’t respond to holding the power button, consult your device’s manual or manufacturer’s website for specific instructions on performing a forced restart. Some devices may have a specific button combination or require the use of a pin to access a reset button.
Once the device restarts, check if the touchscreen is responsive. If the problem persists, proceed to the next troubleshooting steps.
Checking for Physical Damage or Obstructions
A frozen touchscreen can sometimes be attributed to physical damage or obstructions on the screen’s surface. Carefully inspect your Android’s screen for any visible cracks, scratches, or chips. Even minor damage can disrupt the touchscreen’s responsiveness.
Debris, such as dust, lint, or dried liquids, can also interfere with the touchscreen’s functionality. Use a clean, soft, and slightly damp (not wet) microfiber cloth to gently wipe the screen. Avoid using abrasive materials or excessive pressure, which could further damage the screen.
Screen protectors, while designed to protect the screen, can sometimes become problematic if they are damaged, improperly installed, or beginning to peel. If you suspect the screen protector is the culprit, carefully remove it to assess if the touchscreen responsiveness improves. If so, consider replacing the screen protector.
Booting Your Android in Safe Mode
Safe mode is a diagnostic mode on Android that disables third-party apps. This helps determine if a downloaded app is causing your touchscreen issues. Since the process varies slightly between manufacturers, consult your device’s manual or the manufacturer’s website for the exact steps for your model.
Generally, booting into safe mode involves the following:
- Power off your device completely.
- Power on your device.
- As the device starts up, press and hold the volume down button. The exact button and timing can vary, so refer to your device’s documentation if needed. You might see the words “Safe mode” displayed on the screen’s bottom corner.
Once in safe mode, test your touchscreen’s responsiveness. If it works correctly, a third-party app is likely the culprit. Uninstall recently installed apps one by one, restarting your device normally after each removal to pinpoint the problematic app.
To exit safe mode, simply restart your device.
Clearing Cache and Data for Touchscreen-Related Apps
Sometimes, corrupted cache or data within touchscreen-related apps can lead to unresponsiveness. Clearing these can potentially resolve the issue. Note that the process may vary slightly depending on your Android version and device manufacturer.
To clear the cache and data:
- Open the Settings app on your device.
- Navigate to Apps or Application Manager.
- Locate and select apps related to your touchscreen. This might include launcher apps, system UI apps, or any recently installed apps that interact with the touchscreen.
- Within the app’s settings, tap on Storage.
- Tap Clear Cache. If the problem persists, return to this menu and select Clear Data. Be aware that clearing data will reset the app to its default settings.
After clearing the cache and data, restart your device and test the touchscreen responsiveness.
Testing the Touchscreen with Diagnostic Apps
Several diagnostic apps available on the Google Play Store can help pinpoint touchscreen issues. These apps provide tests to check for dead zones, multi-touch functionality, and touch accuracy. Install a reputable diagnostic app and follow the on-screen instructions to test different aspects of your touchscreen’s responsiveness.
These tests often involve touching specific points on the screen or drawing patterns. The app will then report any inconsistencies or areas where the touch input is not registered correctly. Note the results of these tests as they can provide valuable information when seeking professional repair, if necessary.
Be mindful that not all diagnostic apps are created equal. Some might require specific permissions or root access to function fully. Choose an app with positive reviews and ensure it aligns with your device’s specifications and Android version.
Calibrating Your Touchscreen (If Applicable)
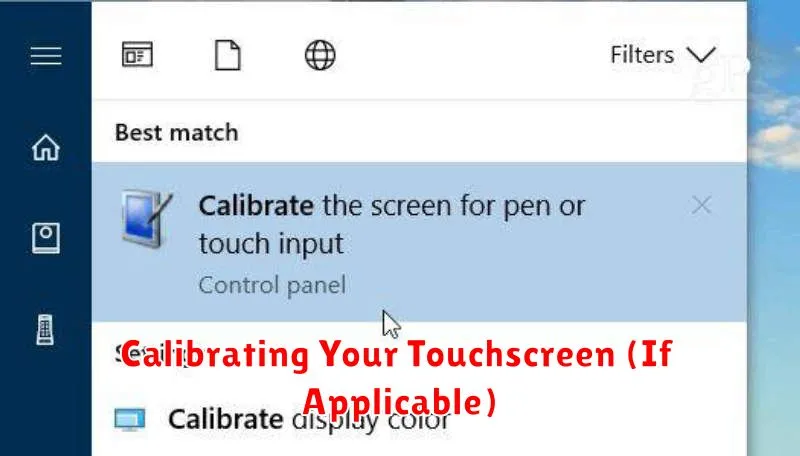
In some cases, an unresponsive touchscreen might be due to calibration issues. This is less common in modern Android devices, but older models or devices with specific hardware configurations may offer calibration options. Check your device’s settings. Look for “Display” or “Language & input” settings. Some devices might include a “Touchscreen calibration” or similar option within these menus. If you find such a setting, follow the on-screen instructions. These typically involve touching specific points on the screen to recalibrate the touch input.
If your device doesn’t offer built-in calibration tools, you may consider downloading a third-party calibration app from the Google Play Store. However, exercise caution when installing such apps and ensure they are from reputable developers. Note that improper calibration can worsen touchscreen responsiveness, so proceed with care. If unsure, it’s best to consult with your device’s manufacturer or a professional repair technician.
Disabling Accessibility Features and Third-Party Apps
Sometimes, accessibility features or third-party apps can interfere with your touchscreen’s normal operation. Disabling these can help pinpoint the source of the problem.
Accessibility Features
Certain accessibility features, while helpful, might inadvertently affect touchscreen responsiveness. Check your device’s accessibility settings and temporarily disable any active features. Test your touchscreen after each deactivation to see if responsiveness returns.
Third-Party Apps
Recently installed apps could be the culprit behind an unresponsive screen. To investigate this, boot your device into Safe Mode. This temporarily disables third-party apps. If your touchscreen works correctly in Safe Mode, a third-party app is likely the problem. Uninstall recently added apps one by one, testing the touchscreen after each removal to identify the offending application.
Factory Resetting Your Device as a Last Resort
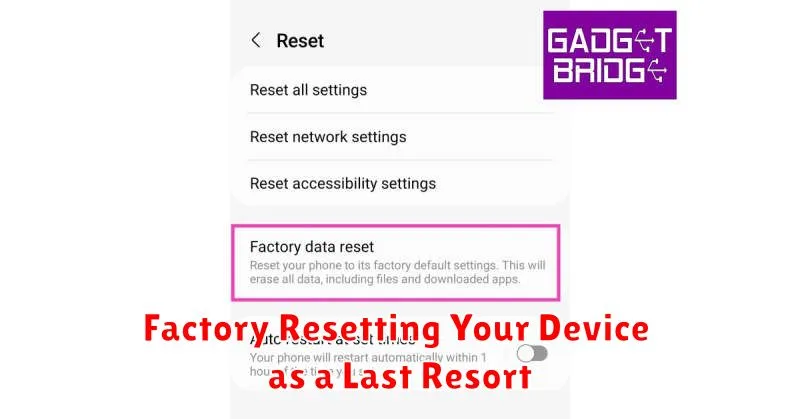
If all other troubleshooting steps have failed to resolve the unresponsive touchscreen, a factory reset might be your final option. Be aware that this will erase all data on your device, so it’s crucial to back up any important information before proceeding. Cloud services, external storage, or a computer can be used for backups.
To perform a factory reset, access your device’s settings. The exact path may vary depending on your Android version and manufacturer, but it’s typically found under “System” or “General Management,” then “Reset.” Look for the option labeled “Factory data reset” or similar.
After confirming the reset, your device will restart and begin the process. This can take some time. Once completed, your device will be restored to its factory settings. If the touchscreen remains unresponsive after the factory reset, it’s highly likely a hardware issue exists and professional repair is necessary.
Seeking Professional Repair Options
If all troubleshooting steps have been exhausted and your Android touchscreen remains unresponsive, it’s time to consider professional repair. A qualified technician can diagnose the underlying hardware issue and provide the necessary repairs.
Authorized Service Centers: Contact your device manufacturer or carrier for information about authorized service centers. These centers have trained technicians and access to genuine parts, ensuring quality repairs.
Independent Repair Shops: Local, independent repair shops can be a cost-effective alternative. However, research their reputation and ensure they have experience with Android devices.
Repair Costs: Inquire about the estimated cost of repairs upfront. Factor in the cost of parts and labor when making your decision. Depending on the severity of the damage, it might be more economical to invest in a new device.
Data Backup: Before submitting your device for repair, back up all important data. Repairs, especially involving hardware replacements, can sometimes lead to data loss.